Thank you for choosing Sentinel! Follow these steps to set up your Sentinel instance:
In Workday, credentials will need to be set up to allow Sentinel to connect to the Workday tenant:
- Create an Integration System User (ISU)
- Create an Integration Security Group (ISSG)
- Assign permission Get Only to the domain security policy Integration Event
- Assign permission Get Only to the domain security policy Integration Process
- Assign the ISU to the ISSG
- Activate the Security Policy
- Provide to the Sentinel Admin
- ISU Name
- ISU Password
- Workday Tenant Name
- Workday Data Center
Workday integration tags can be used to tailor the behavior of Sentinel, for example for issue prioritization and determining for which events Alerts should be generated. Tags can also be used to filter data in the Sentinel Dashboard.
To tag integrations:
- Log in to your Workday tenant
- Use Maintain Integration Tags to create the desired tags
- Use Edit Integration System to assign tags to the integration


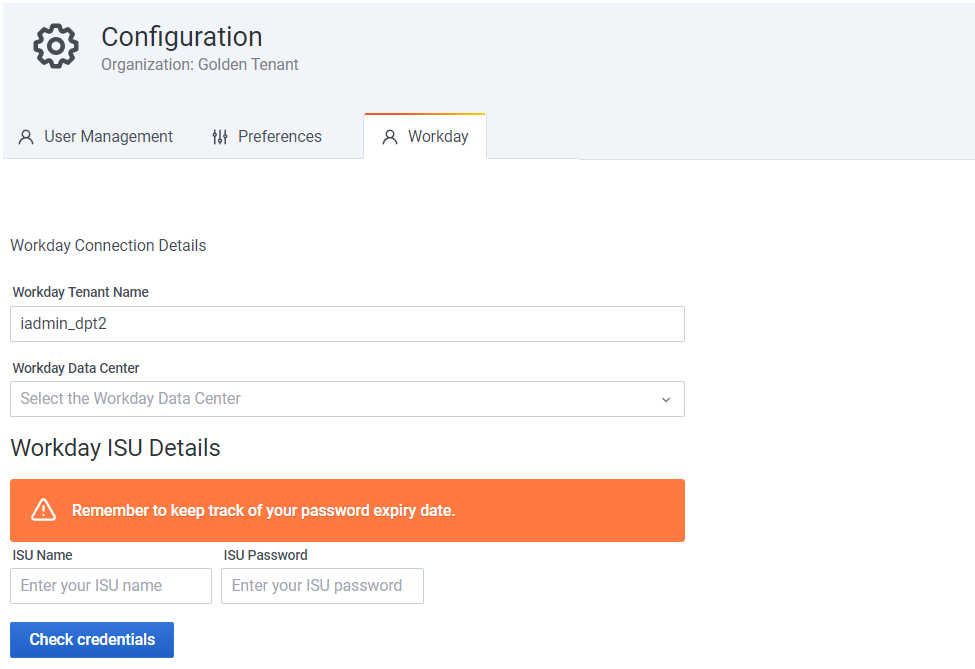
To set up the Workday connection to Sentinel:
- From the Sidebar, navigate to Configuration, Workday.
- Specify the Workday Tenant Name and Workday Data Center.
- Enter ISU Name and ISU Password.
- Click Check Credentials to test the connection.
To configure preferences for you organization:
- Navigate to Configuration, Preferences.
- Under Organization profile, specify your Organization name and click Update organization name.
- Under Preferences, select the preferred UI theme and Timezone, and click Save.

Alert Severity Management allows you to define the Sentinel Alert severity level based on integration tags and the completion status of a particular integration run.
For example, you can configure integrations tagged "Payroll" that complete with Workday status Failed to generate Urgent alerts.
- Navigate to Alerting, Alert Severity Management

- To configure a new tag, click Add Tag, select a tag from the dropdown, and select the desired Severity for each Status.
- To remove a tag, click the
 at the end of the relevant tag record.
 - Click Submit to save changes.

To invite a user:
- Navigate to Configuration, User Management.
- Click Invite.
- Provide the required information.
- (Optional) Toggle on Send Email Digest to enable users to receive Integration digest emails.
- Click Submit.
- (Optional) Configure Alert notifications for the user.

- Navigate to Configuration, User Management.
- Click the red X button at the end of the User record.

The user will be deleted. No notification will be sent to the user.
Getting started with Sentinel